FieldAlytics Engage™
Welcome the all-new FieldAlytics Engage™ Grower Dashboard. FieldAlytics Engage brings a level of functionality available exclusively for growers to FieldAlytics Mobile, which contains an array of features that are beneficial to the grower.
Dashboard
When a grower logs into FieldAlytics Mobile, they are greeted with the Dashboard that displays a variety of useful information. Each section to this document will go through each tile of the FieldAlytics Engage Dashboard. 
Profiles
An Engage login can support up to 4 grower profiles. If multiple Growers are connected to one user, the top of the screen will be denoted with the currently loaded Grower profile. To change the Grower, tap the Grower name and select the desired Grower Profile to load from the list.

Activity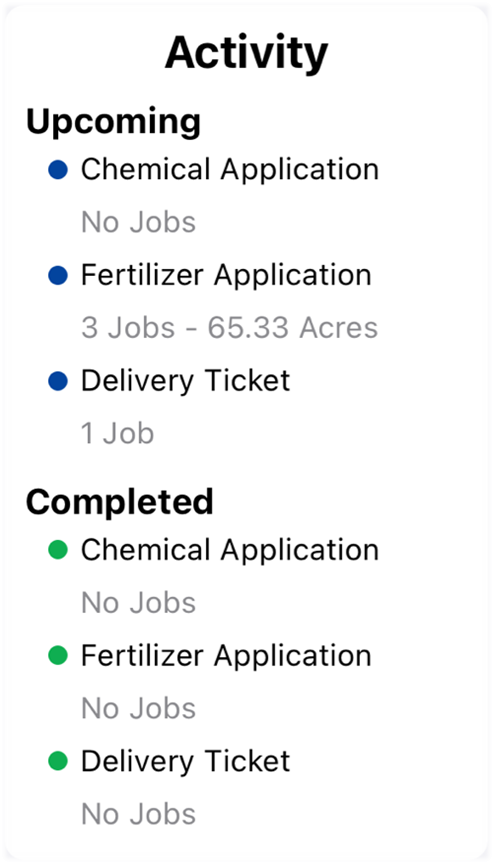

The Activity section of the Engage Dashboard displays the number of Jobs with total acres of Upcoming and Completed Jobs. Clicking on the Activity tile will display each job. The information displayed varies with each job type; Application jobs will display field information and the field's boundary, while delivery tickets will state the pickup method. All Job types will show the Product involved, Total Product, and/or the Rate applied. Users can toggle between Upcoming and Completed Jobs in the Activity section and filter the list of Jobs by Job Type.

To filter by Job Type, tap on All located in the top right corner of the screen and select between the filters All, Chemical, Fertilizer, or Delivery Ticket. 
Weather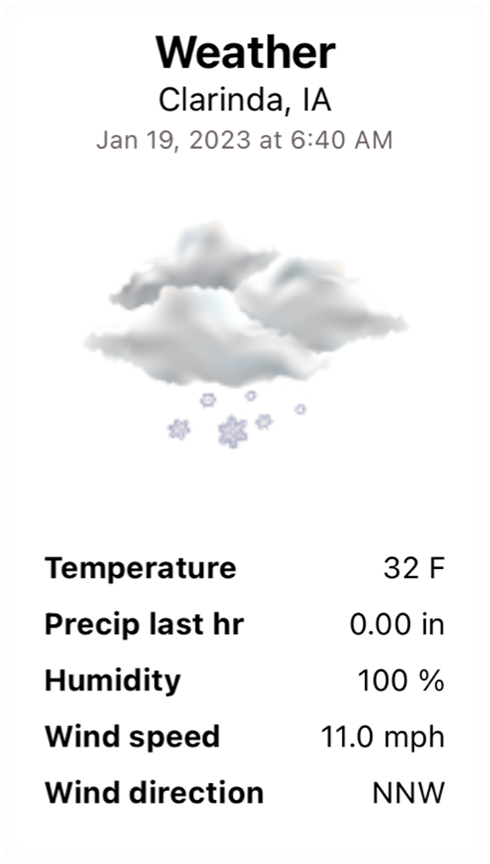

The Weather tile displays current weather conditions at the location of the device running FieldAlytics Mobile. Within the tile view, Weather only displays Location, Temperature, Precipitation in the last hour, Humidity, Wind Speed, and Wind Direction. Tapping on the Weather tile will display even more weather, including Current Conditions, an Hourly Forecast, and a 10 Day Forecast.

Grain Futures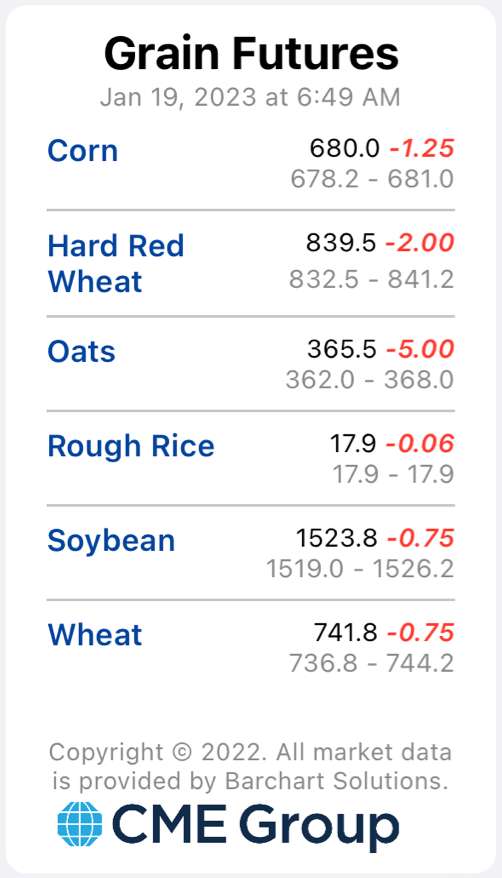

The Grain Futures provides a current look at Futures for Corn, Hard Red Wheat, Oats, Rough Rice, Soybeans, and Wheat. Market data is provided by Barchart Solutions courtesy of the CME Group. Tapping on a crop in Grain Futures will now display Commodity Futures by month for the selected crop. To change the crop displayed, tap on the filter at the top of the page. Local Cash bids are now available as well within the Grain Futures tile. To activate the Cash Bids functionality, please contact our customer success team member.

Tapping on a specific month will show an in-depth look with a graph for that month of Commodity Futures.

This page can be filtered by Timeframe (Day, Week, Month, Quarter, Year)
Once Cash Bids have been activated for your account, an additional Cash Bid tab will be at the top of the page. Tapping on the Cash Bids tab will display all the local markets set up for the account.

Fields

Tapping on the Fields tile directs users to an interactive profile tree at the Grower level. The field tile is divided into two sections, the Map View at the top of the page and the list of farms of the Grower profile in the bottom half. Initially, the map will load, showing the boundaries of all the fields within the Grower profile. Tapping on View Map next to any of the Farms will zoom the map to display only the boundaries of that farm.

Tapping on any of the listed farms will drop down a list of all the fields within that farm. Each field will display Planting and Harvest Dates, Variety planted, and average yield for the given year. Tapping on a field within the farm list will zoom the Map to the boundary of that field.

Crop areas may now be edited with FieldAlytics Engage; tap on Edit Crop Area. Users can enter Crop type, Planting information, and Harvest information for Crop Area information. Click Confirm to save.

The Map View has many functions available also.
 Field Layers- The Field Layers icon can only be selected when a single field is selected in the Map View. The available Field Layers may include but not limited to NDVI Imagery, Management Zones, or Actual Yield. The Field Layers displayed will be defaulted to the current year. To change the year simply tap on the year in the upper left corner and select the desired year.
 Map Information- Tapping this will allow users to switch map styles between Road, Satellite, and Hybrid. Toggling Show Nearby Fields will display the name of each field over the boundary on the map. This also allows users to tap on any field to display general field information. Clicking Select field will automatically open the profile tree beneath the Map View to that field.

 Location- Tapping the Location icon will zoom the Map to the current location of the device running FieldAlytics Moblie.

Rainfall

Tapping on the Rainfall tile will display a list of all fields within the Grower Profile with totals for rainfall for the past 24 hours, 7-days, 30 days, and seasons. If a planting date has been set for the year, the season will be from that date to the current. If no planting date is set, the season will be from January 1 to the current.

Tapping in the upper right corner of the screen will allow users to sort the list of fields by Field Name or total Rainfall for each of the timeframes available. 
WO Approval

Tapping on the Work Order Approval Tile allows users to all upcoming Jobs to either Approve the Job or Reject the Job. The Work Order Approval is divided into three tabs: Approved, Needs Approved, and Rejected. Once a job is rejected or approved within the Needs Approved tab, an additional window will display confirming the decision with a section to add notes if necessary.

After selecting Approve or Reject again the Job will automatically be moved the respective tab. Jobs can be mass approved or rejected by tapping on Select All in the upper right corner of the screen and choosing either Reject Selected or Approve selected near the bottom of the page. Notes added from the Approve/ Reject screen will appear within the Jobs. Approval Jobs will require a Signature to be approved.

Please Note: Approved Jobs can still be Rejected until completed. Jobs can also be Approved after being Rejected.

Records
Tapping on the Records tile will display a list of records from the current year. Users are able to select a
record to view details. Only records created by the user will be able to be edited, any records created by another user will be view only. To create a new record, tap on the + in the upper right corner and select the type of record needed.

From there users may add any information to complete the record. Tapping on the menu next to save will give options to Import Weather, View Detailed Report, or Finalize Event.

Tapping on View Detailed Report will allow users to view the Event Report with the ability to print, send or save to the device.


Scouting
The Scouting tile offers a list of all scouting events that have taken place by year. Scouting events cannot be edited or created from FieldAlytics Engage. Tapping on an event will allow users to view the results of the Scouting event. Tapping on the menu next to Save will give users the option to view and download a Detailed Report of the scouting event, or selecting Navigate to Field will launch the devices Maps application to give directions to the scouted field.

Example

News
Tapping on the News tab will direct users to FieldAlytics news. Users may view the Ever.Ag publication "The Weekly Wire", as well as view help documents and release notes.


Farm Plans
The Farm Plans tile is currently a view only tile that allows growers to see the selected Farm Plans for each field. Tapping on the Farm Plan tile will display a list of farms for the current year, each Farm will be denoted by the amount of selected Farm Plans available for the fields within the farm. Tap on Previous, Next, or the year in the middle to navigate to the desired year of Farm Plans. Tap on a Farm to expand the list of Fields, each field will display the name of the selected Farm Plan or will show No Selected Plan if none are available. Tap on a field with a Farm Plan to view.

The Farm Plan viewer has two tabs, the Summary tab and the Events tab. Initially, users will see the Summary tab that displays the actual budget. This tab is a categorical breakdown of all expenses that have been submitted for the field.

Tapping on the Event tab will display all events that have been created for the field. Tap on an event to see a breakdown of expenses for that event.


Account
The Account tile is only available to accounts connected to certain ERPs. Only growers connected to Merchant Ag or Agvance will have the Account tile available. Tapping on the Account tile will display two additional sub-tiles, Statements and Invoices. Invoices and Statements will be available for both Merchant and Agvance-connected growers.

Statements
Tapping on Statements will load a list of billing statements for the current year. The year for the listing of billing statements can be changed by tapping on previous, next, or by tapping on the year at the top of the page and selecting the desired year. Tapping on a billing statement will load the pdf, which can be downloaded to the device, printed, or sent.

Bookings
Tapping on Bookings will load a list of Bookings and Prepays for the current year. The Bookings tab is currently only available for Merchant and Agvance connected profiles. Just like in Statements, the year for the listing of invoices can be changed by tapping on previous, next, or by tapping on the year at the top of the page and selecting the desired year.

Tapping on a booking will display a detailed Summary including individual products with the Total Bookings, Total Prepays and Remaining Prepays. This summary is view only.

Invoices
Tapping on Invoices will load a list of Invoices for the current year. Just like in Statements and Bookings, the year for the listing of invoices can be changed by tapping on previous, next, or by tapping on the year at the top of the page and selecting the desired year. Invoices may also be sorted by either Number or Invoice Date by tapping in the upper right corner.

Selecting an invoice to view will display the Details and Line items contained within the invoice. If the Invoice has a pdf associated with it, it may be viewed by tapping on the pdf icon in the upper right corner of the screen and can be downloaded, printed, and sent from here.


Work Order Creation
Growers can now create Delivery Ticket Work Orders for Chemicals and Fertilizers. The Create Order tile is only available for Merchant, and Agris connected growers.
Tap on the tile to begin a Delivery Ticket Work Order. From here users must choose between Delivery or Pick Up by toggling between their respective tabs at the top of the screen.

A Delivery Destination or Pick Up Location must first be selected. Users may also adjust the Start/ End Date as well as add any notes to the Work Order. Growers will also be shown a list of selectable Locations to submit the Order to.
Now, tap on the green + and then either Chemical or Fertilizer to add a Product to the ticket.

Next, search for the product to add to the ticket. Fertilizers will be shown in a selectable list, and chemicals can be searched for within the search box. Tap on a product to continue.
Once a product has been selected, a value and unit must then be assigned. Click Done to add the Product to the ticket.

The product will now appear under the Products category displaying the quantity needed. If more products are needed, repeat the steps above to add more products.

Once all of the desired product have been added to the ticket, Click Save in the top right corner to finish. A Delivery Ticket Work Order created within FieldAlytics Engage will be automatically set to Approved, so no further approval is needed within the application. The job will appear within the Upcoming section of the Activity tile once the status has been changed to In-Process

FA Engage - Adapt-N Alert Notifications
If a grower in Engage is also configured for Adapt-N, the Adapt-N button will become active. Once active, you can set up alerts via email or SMS/text messaging to notify you when a field reaches the nitrogen threshold you’ve set, along with selecting the day(s) of the week you'd like to receive alerts.
From the dashboard icon, perform a long press to open the Settings page. In the Settings page, you can configure your Pounds of N Alert Threshold. This threshold triggers an alert when the recommendation for any cell meets or exceeds the set value. Here, you can also select the type of alerts you’d like to receive—either text or email.

Text Alerts
When you select Enable Text Alerts, you’ll be prompted to enter a phone number in 10-digit format (e.g., 5075555555). Then, choose the days of the week on which you’d like to receive the text messages. Messages are sent in the morning following configuration. Standard text messaging rates may apply.
Note: If you add additional growers to your Engage account, you’ll need to request alerts individually for each grower.

Email Alerts
When enabling Email Alerts, you’ll be given the option to enter a unique email for each grower or use the same email for all. Alerts will be sent based on the schedule you select, notifying you when a field reaches the specified threshold.
After entering your email and/or phone number, tap the Save button to activate the alert system. Alerts are available annually from April 1st to August 31st, and there is no need to disable them after that period.

FA Engage - Adapt-N Summary Data and PDF Reports
In addition to receiving alerts via email and/or text, Engage users can now view Adapt-N status directly within the app.
Tap (do not long press) the Adapt-N logo to open the summary page.
On the summary page:
- Red fields indicate that the nitrogen recommendation meets or exceeds your configured threshold.
- Black fields are below the set threshold.
- Gray fields are not fully configured in Adapt-N.

Tapping on a field will display the most recent PDF summary report for that field. This is a 6-page report that can be viewed, downloaded, or shared to better understand the nitrogen recommendation. Be sure to scroll through all pages for full insight.
