1. In the Main tab, right-click over any Grower name within the profile tree.
 2. Select " Grower Sample Event". 2. Select " Grower Sample Event".
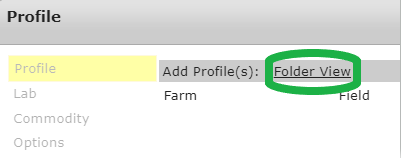
3. Click the "Folder View" text link.
 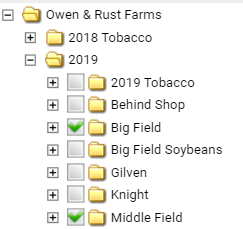
4. Click the + symbols to expand the profile tree.
5. Continue expanding until the Field level
6. Click the check boxes of all desired fields
7. Click " Close" on "Profile Select" window.
8. Ensure the "Direct Sample" drop-down menus show the directed sampling layer desired for the new Field Sample Event.

9. Click " Next"
10. Use "Sample Type" menu to select either Nematode, Soil, Tissue or Water.

11. Select desired Lab.
12. Select desired Sample Package.
13. Select " Sample Date".
14. Select " Sampling Method".
15. Click " Next".
16. (Optional) Select desired Commodity. (6)
17. (Optional) Select desired Manufacturer .
18. (Optional) Select desired Variety.
19. Click " Next".
20. (Optional) Input a Note.

21. (Optional) Check "Create Lab Check-in Sheet".
22. Click "Finish". |
 2. Select " Grower Sample Event".


